Tuesday, February 14, 2012

Outfit Post: Fresh- Black & White.

Jacket: French Connection. (Now on sale!) Skirt, Top & Shoes: Joe Fresh. Sunglasses: RayBans. Necklaces: Anthropologie & Max and Chloe. Earrings: Christina Greene. (Similar)

Be sure to check out my good friend Christina Greene's-- handmade and one-of-a-kind pieces on her website here and "like" her facebook fan page here.

Saturday, February 11, 2012

DIY: Wall of Art.

Who doesn't like a little change every now and then? I especially find myself constantly wanting to change things around my apartment because I spend so much time here and its easy to grow tired of. I tend to want to change things in my apartment too often because I love experimenting with new decorating ideas. 

Well yesterday I decided I needed a project and I was due for a little change in my room before the start of the next season--- Down came all my art from my walls. I have always loved art and pictures but tried to not get carried away with buying too many things to hang on the wall since my wall space is limited in a small New York apartment. Its been almost 2 years since I have been living here and lets just say that I failed and now have more things to put on the wall then I know what to do with. As I have slowly collected things that I wanted to display, I have been hanging them wherever I found an empty space on my walls. For some time now my frames have started to look sloppy and scatted. 

A roll of wrapping paper, a hammer, a few nails and an hour later I had created a beautiful wall of art that shows all the things I love and collected since living in New York. I never realized how moving everything to one wall would really showcases the things that inspire me and my personality so well... I kinda love it!

How I made my wall of art so you can make one too...
What you'll need: 
-Large pieces of paper (I used left-over wrapping paper from Christmas which worked perfectly) 
-Scissors
-Tape
-Hammer & nails

Measure and cut the paper into the size of each of the frames you are wanting to hang.
Once they are all cut, I laid them all out on the floor and just started taping them to the wall where I thought they should go. You can measure them out with a tape measure but I found it easier to just eye it and try to keep the distance between each frame consistent and evenly spaced.
Once you pleased at how they are arranged on the wall, start hammering and re-hanging. (oh, and don't forget to take down the paper). Once you get them all hung and you are pleased with your placement, step back and take it all in. I think you will be happy with your little shrine. I am very happy with my finished look...

A LITTLE INSPIRATION...
Happy Hanging and Weekend!!....Xoxo - Claire

Tuesday, February 07, 2012

Creative Resume Ideas- Part II.

I did an earlier post last year of the creative resumes I designed and sent out to employers that were suppose to resemble a hang tag. I thought this would be a creative and catchy way to make me stand out among the other million resumes they receive every year. My whole goal is to just get it in the hands of someone in HR who is hopefully curious to find out what is enclosed in the fancy envelope. From the outside I think it looks a lot like a party invite -- (Hope they are not disappointed when they open it :/ )
After recently being laid off from my job, I decided I would try this strategy (what I like to call: "Marketing Me") again since it did get me a temp job at Tory Burch a year ago. Below I posted images of the final products since I made a few changes and added some new details and designs from my old versions. I even printed stationary and business cards to match, much like an actual companies marketing/branding materials. I mailed them on Sunday morning so I am assuming employers will get them today or tomorrow... Let's just hope that I hear something back in the next few days!.... Please leave comments-- I would love to hear your feedback!!

Thursday, February 02, 2012

DIY: Cake Plate.

Thanks to my recent edition of "Do it Yourself" magazine I was inspired to make a cake plate yesterday which I've been meaning to buy forever now since one of my newest hobbies is baking. Seriously this is one of the simplest projects I've ever done and only cost me a total of $8. I found both the candle stick holder which I used as the stand and the plate at a local thrift store yesterday in the upper east side. The pictures below show my step by step process and my finished product. This would make the perfect gift for any girl who loves to bake or to just display in the kitchen. Have a thrifty Thursday!
Magazine Idea Page:
Step-by-Step Process:
Ta-Dah!

Wednesday, February 01, 2012

Book of the Week: The Perfectly Imperfect Home.

I've been meaning to post this book: The Perfectly Imperfect Home by Deborah Needleman for some time now... And now that I have a free copy on my hands (Thank you Gilt), I can't wait to share how great it is. Not only are the illustration so girly and cute but Deborah Needleman gives some amazing advice (every girl should know) on how to make your house your home. It's the perfect book for someone my age who is starting to invest in pieces that I want to grow in to and hopefully keep for a long time.  For example, she teaches you how to buy sheets according to thread count, material and season, she even points out the essential tools you will need to build an in home bar, and so many other great tips that are key in making a smart investment.  And if you don't have money to spend on new things, she shows you tricks on how to rework the pieces you already own to create a space that is more inviting and suitable for your lifestyle in a fresh new way.
Basically, Deborah knows what is up and I promise you won't get through one chapter without learning something new and maybe even the history behind it. Definitely get yourself a copy of this book if you are making a move and dishing out the big bucks on new furniture--- being knowledgeable about the product and decorating in general will make shopping for your new home a much more positive experience and its actually a lot of fun. Enjoy!

Wednesday, January 25, 2012

A Lil Inspiration From My Fav.


I took this while I was drafting my post earlier this morning on the balcony... Aww shes just so cool!! Happy hump day ya'll!

Claire's Cookie Cake.

For  a friends birthday I was trying to think of a yummy dessert that would be easy to make and serve at a restaurant for her birthday dinner. I thought cookies would be a good idea because they would be easy to box and no serving required-- But that was just way too boring. Then it hit me duh-- I could make a cookie cake! Because growing up, who didn't hate the kid that had a cookie cake at their birthday party? They the best!
So here are the easy steps of how to make your own homemade cookie cake that will be a hit. Not to mention I googled where to buy a cookie cake in Manhattan and they were no where to be bought. New York bakery's need to get with it!

Cookie: 
1) Make cookie mix according to directions. I used 11/2 bags of Betty Crocker Chocolate Chip Cookie Mix. There's no reason to try to make them homemade, it's the best! (The trick is to use real butter and make sure you let it soften - Do not melt.)
2) Grease Round Pizza Pan 14-16" and spread dough evenly.
3) Bake for 15-20 minutes at 350 Degrees. (Do not walk away-- cooking the cookie until it is golden brown so the cookie is not overcooked and crunchy is key.)
4) Set in fridge to cool for about an hour before icing.
5) Transfer cookie to Pizza Box (I tried to pay for one at a NY pizza place.. but the lil cuties gave me one for free.)


Icing: (You can either make your own white frosting or buy in the can and then dye-- I actually bought it this time because I think it just taste better.)
1) Mix icing with food coloring in separate bowls until desired color is achieved.

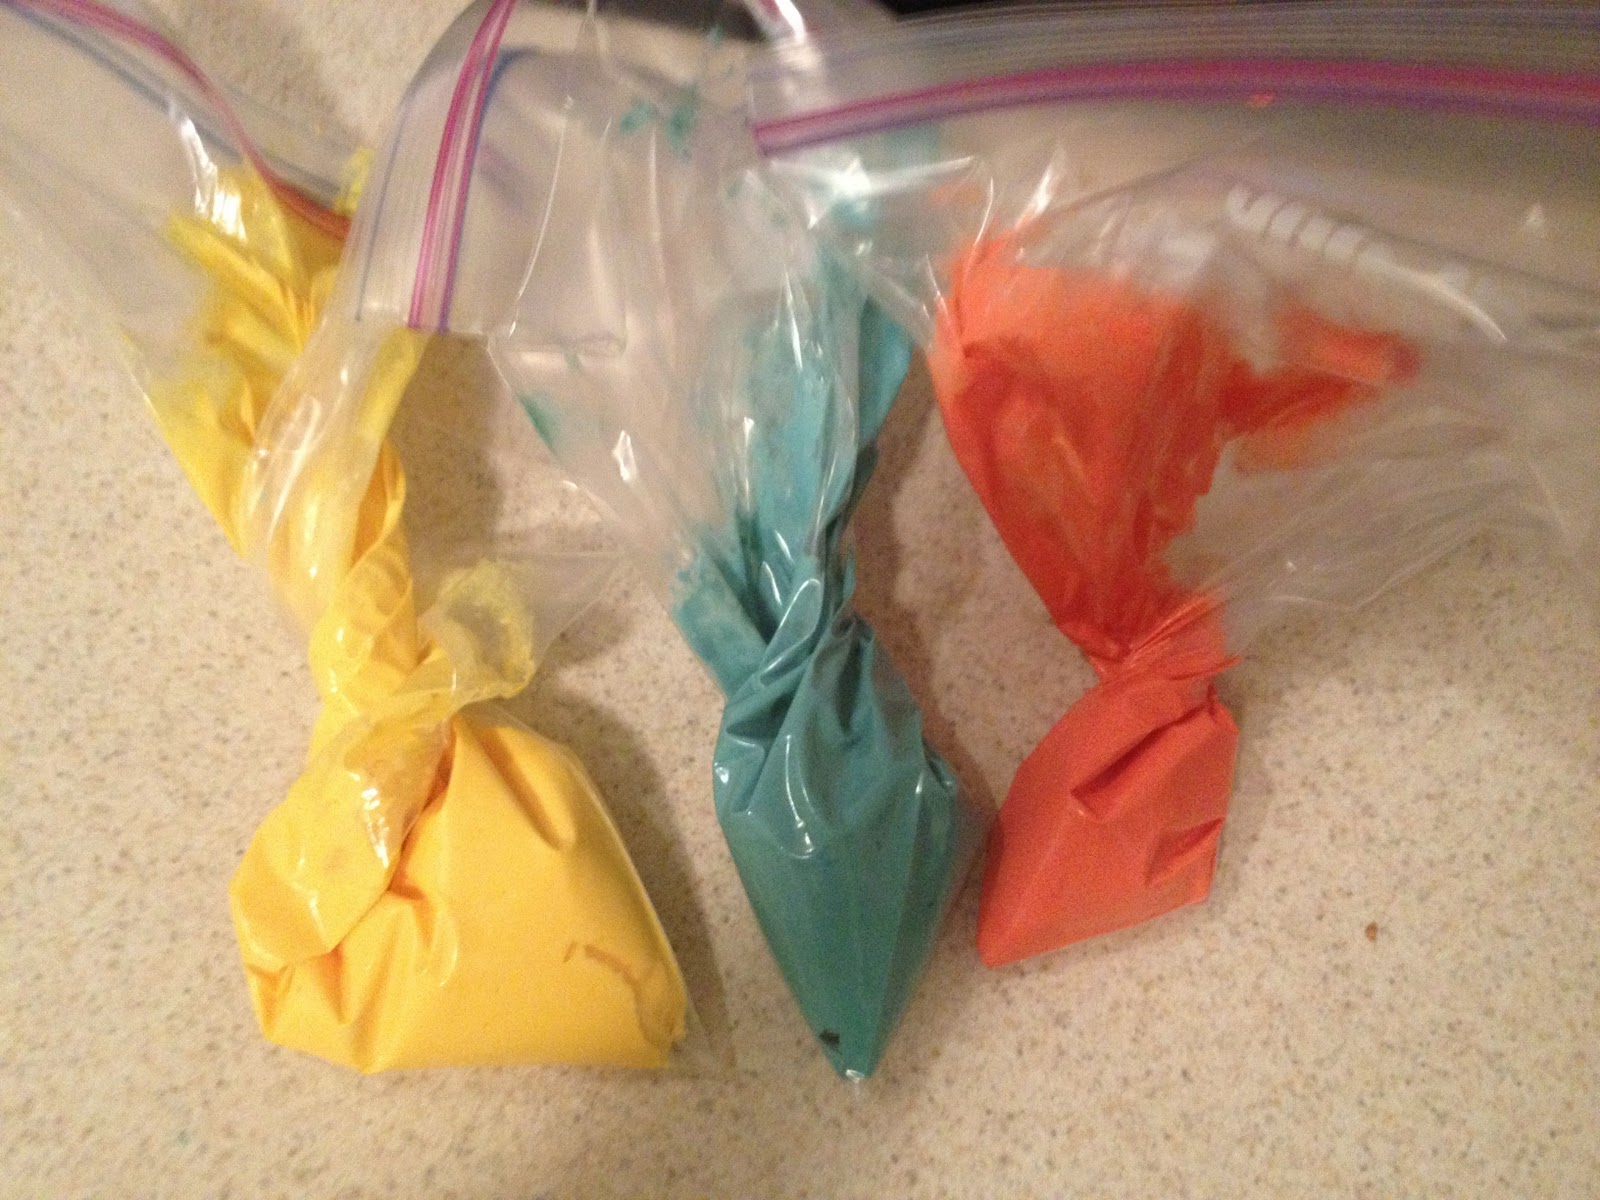
2) Transfer frosting to ziplock baggies and clip ends to decorate.

3) Ta-dah!! Who's jealous now?
            
Other goodies I baked for a co-workers birthday that are pretty simple and easy to share: